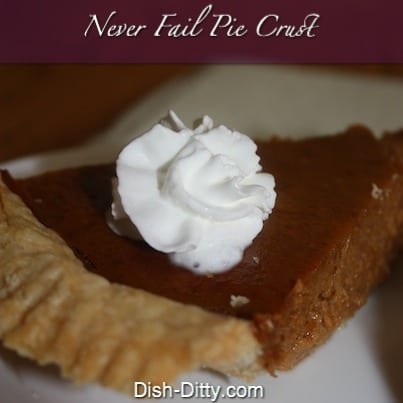
This is an old classic Crisco pie crust recipe that my mom relied on for all of her pies. It is a super light and fluffy crust that is perfect for any pie, sweet or savory.
Looking for the pumpkin pie recipe pictured here? You can find it at this link: Better than Famous Pumpkin Pie

Never Fail Pie Crust
- June 29, 2016
- Serves 2 2
Mix flour and salt together in medium sized bowl.
In separate bowl, mix water and ice together. I usually don't measure the water at this time, I wait until I am going to use it so that I get exactly 1/2 cup of ice water.
Add shortening to flour mixture. Now comes the part where you need to be careful. You are not "mixing" the butter and shortening together. You will hear the term 'cut into flour'. That means that you are trying to create beads of shortening or butter that is coated with flour. You are not trying to create a paste with flour and shortening combined.
You have at least two choices for cutting in the shortening to the flour. I like to use a pastry blender. It is the fastest and easiest way to cut in the shortening.
If you don't have a pastry blender, you can use two forks and push the shortening down into the flour.
You only want to do this until you get little beads like this picture.
Now add the ice water and vanilla (optional). Stir it just enough so that it holds. Again, we are not mixing it, just letting it come together.
Cover and refrigerate for at least one hour. Remember, what makes a good pie crust is making sure that the layers of flour and shortening create 'flaky' layers. Chilling the dough helps keep those layers so that when you roll it out you don't wind up mixing the flour and shortening together.
This is usually when I make my pie fillings and clean up a little...
Lightly flour the board and flour the rolling pin as well. I usually like to place a small pile of flour on the corner of the board just in case things get sticky.
Place the dough onto the floured board and sprinkle with flour.
Roll out dough to about 1/4 inch thickness, maybe thinner. I prefer a thinner pie crust. Use the flour to keep the dough from sticking to the rolling pin and board.
Using your rolling pin, carefully lift the pie crust onto your pie plate.
Using a knife, cut off the extended edges and then use those cut off pieces to fill in any missing areas. Remember, no one will see anything of the pie crust except the edges.
Now we want the edges to look nice, right? I am not good with the pinch edges thing, so I just use a fork and lightly press into the edges to give the crinkled look.
You are done! Now you can fill your pie with whatever filling you want.
If you want to pre-bake your pie crust, you will want to poke it with a fork 4-5 times. Then, place some parchment paper on top of the crust and add dried beans (any kind, it's just to use as a weight). Then bake for 10-15 minutes or until the pie is cooked to the center. (sorry, I don't have a picture of this now, I'll do this when I'm making some of my cream pies)


