Blanching your vegetables is the process of scalding vegetables in boiling water for several minutes. Why blanch? The best reason is that it prevents Blah vegetables! It’s also necessary if you want to freeze your vegetables for use later.
Blanching Instructions
The steps for blanching vegetables is simple:
- Clean and trim your vegetables based on how you plan to serve them.
- Bring a large pot of water to boil
- Get an ice water bath setup (water + ice in a large bowl with enough room for vegetables)
- Place vegetables in vigorously boiling water, do not add more than one layer of vegetables in the water. You want the water to quickly come to a boil (no more than 1 minute after adding the vegetables). Otherwise you will be slow cooking them instead of getting that fast burst of heat.
- When the water returns to a boil, continue boiling for the number of minutes in the chart below
- Immediately remove from boiling water and place in ice bath.
- Keep Vegetables in ice bath, rotating/stirring occasionally, for the same amount of time required to boil the vegetable.
- Strain thoroughly and place on paper towels to dry, patting down with the paper towels gently to help remove excess water.
- Use as directed or follow directions below for freezing instructions.
Simple, right? It really is. And it can make a huge difference when making prepared salads.
You can also choose to steam some of the vegetables (like broccoli). Same process as shown above, but instead of boiling, place vegetables in a steamer and cover for the allotted time. Be sure to check the timetable below and use the proper cooking method.
Blanching Timetable
Vegetable blanching times (water blanching)
| Vegetable | Blanching time (minutes) |
|---|---|
| Artichoke – globe hearts | 7 |
| Artichoke – Jerusalem | 3 to 5 |
| Asparagus – small stalk | 2 |
| Asparagus – medium stalk | 3 |
| Asparagus – large stalk | 4 |
| Beans – snap, green, or wax | 3 |
| Beans – lima, butter, or pinto – small | 2 |
| Beans – lima, butter, or pinto – medium | 3 |
| Beans – lima, butter, or pinto – large | 4 |
| Broccoli (flowerets 1 1/2 inches across) | 3 |
| Broccoli flowerets – steamed | 5 |
| Brussels sprouts – small heads | 3 |
| Brussels sprouts – medium heads | 4 |
| Brussels sprouts – large heads | 5 |
| Cabbage or Chinese cabbage – shredded | 1 1/2 |
| Cabbage or Chinese cabbage – wedges | 3 |
| Carrots – small, whole | 5 |
| Carrots – diced, sliced, or lengthwise strips | 2 |
| Cauliflower (flowerets, 1 inch across) | 3 |
| Celery | 3 |
| Corn-on-the-cob – small ears* | 7 |
| Corn-on-the-cob – medium ears* | 9 |
| Corn-on-the-cob – large ears* | 11 |
| Corn – whole kernel or cream style (ears blanched before cutting corn from the cob) | 4 |
| Eggplant | 4 |
| Greens – collards | 3 |
| Greens – all other | 2 |
| Kohlrabi – whole | 3 |
| Kohlrabi – cubes | 1 |
| Mushrooms – whole (steamed) | 9 |
| Mushrooms – buttons or quarters (steamed) | 9 |
| Mushrooms – slices (steamed) | 5 |
| Okra – small pods | 3 |
| Okra – large pods | 4 |
| Onions (blanch until center is heated) | 3 to 7 |
| Onion rings | 10 to 15 seconds |
| Parsnips | 3 |
| Peas – edible pod | 2 to 3 |
| Peas – green | 1 1/2 – 2 1/2 |
| Peppers, sweet – halves | 5 |
| Peppers, sweet – strips or rings | 3 |
| Potatoes – Irish (new) | 3 to 5 |
| Rutabagas | 3 |
| Soybeans – green | 5 |
| Squash – summer | 3 |
| Turnips | 3 |
| * Cooling time for corn-on-the-cob is twice the time of blanching. | |
*blanching times are for water blanching unless otherwise indicated.
Source:: National Center for Home Food Preservation and University of Minnesoda Food Safety
Freezing Vegetables Instructions
Once your vegetables are blanched, they are ready for freezing. When vegetables are properly prepared prior to freezing, they will remain in high quality for 12-18 months frozen. What a great way to preserve your vegetables.
Best: Use vacuum sealer bags
If you have a vacuum sealer, you already know that this is the best way to preserve food for the freezer. Air inside the bags will allow for moisture to crystalize on the vegetables causing them to deteriorate faster. Vacuum sealed bags reduce the amount of air surrounding the vegetables and is the best way to freeze.
2nd Choice: Mock-Flash Freeze
Well, I don’t have a flash freezer, if you do, yay! But for the rest of us, we can do something close with a regular freezer.
- Lay the vegetables out onto a cookie sheet, being sure that the vegetables are not wet and that they aren’t touching. You may need to do this in batches.
- Place the cookie sheet in the freezer (do not cover) and freeze for 1-2 hours, or until the vegetables are frozen.
- Then place frozen vegetables into a ziplock freezer bag, being sure to push out the air as much as possible before sealing.
And finally: Just use a Ziplock Freezer Bag
If you don’t have either of the above, don’t fret. You can still use a standard ZipLock Freezer Bag to freeze your blanched vegetables. Just be sure your vegetables aren’t wet and be sure to push out the air as much as possible before sealing the bag. I do suggest using Ziplock brand’s Freezer Bags as well. There is a huge difference when freezing between standard bag and the Freezer Bags. I also prefer Ziplock Brand over Glad or generic brands.
A Visual Guide to Blanching Vegetables
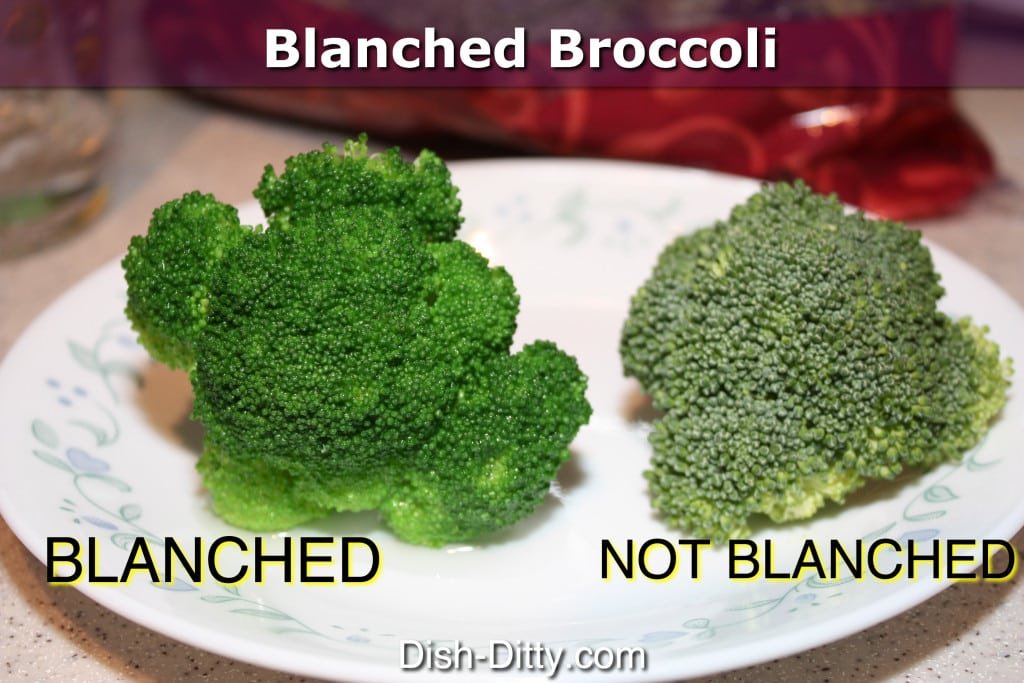
I put together a little visual guide to help you see how to blanch your vegetables. Note that vegetables are at their brightest color when they reach that optimum blanching time. Quickly stopping the cooling process by placing in the ice bath keeps the vegetables bright and beautiful. If you just left your vegetables out and didn’t place them in an ice bath, they would be blah and grey.
I started with a bag of cheap prepared broccoli florets.

Next I put a large pot of water onto boil
Then I setup my ice bath

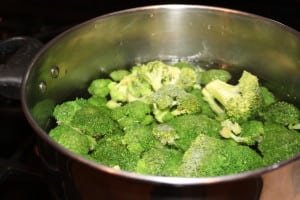
Next I waited for the water to boil, then added the broccoli
When the allotted time is up, quickly remove and place in ice bath
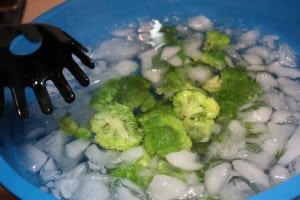
What a difference!

Isn’t this broccoli beautiful?
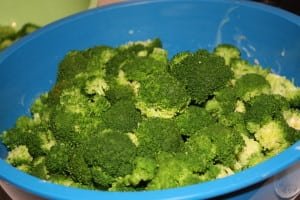
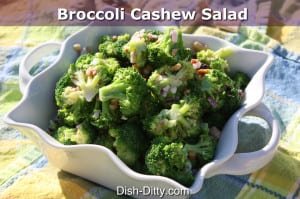
This is the blanched broccoli used in a Broccoli Cashew Salad Recipe
